In today’s digital age, installing software for all users on a system is a crucial task. Whether you’re managing a family computer, running a small business, or handling IT for a large corporation, ensuring that all users have access to the necessary applications is vital.
To install software for all users, choose the option that allows installation for all accounts on the computer. This ensures everyone can use the software without needing separate installations for each user.
In this article, we will discuss “Install Software For All Users”.
Table of Contents
Understanding User Accounts in Operating Systems:
1. Difference Between Admin and Standard Users:
Admin users can change system settings, install programs, and manage other accounts. Standard users can use most apps and change their own settings but need admin approval for major changes or installations.
2. Why Install Software for All Users?
Installing software for all users ensures that every account on the computer can access the necessary applications without requiring separate installations. This is especially important in environments where multiple users share a single device, such as families, schools, or workplaces.
Preparing for Software Installation:

1. Checking System Requirements:
Before installing any software, it’s essential to check the system requirements. Ensure that your computer meets the minimum specifications for the software to run smoothly. This includes checking the operating system version, available disk space, RAM, and processor speed.
2. Backup Important Data
It’s always a good practice to backup important data before installing new software. This protects your data in case something goes wrong during the installation process.
Read Also: How To Remove Company Software From Laptop? – Comprehensive Guide – 2024!
Installing Software on Windows:
1. Using the Administrator Account:
To install software for all users on a Windows system, you’ll need to use an administrator account. If you’re not logged in as an admin, you’ll be prompted to enter the admin password during the installation process.
2. Step-by-Step Installation Guide:
- Download the Software: Go to the software’s official website and download the installation file.
- Run the Installer: Double-click the downloaded file to start the installation process.
- Follow the Prompts: Follow the on-screen instructions. When prompted, choose to install the software for all users.
- Complete the Installation: Once the installation is complete, restart your computer if necessary.
Installing Software on macOS:
1. Admin Privileges on macOS:
On macOS, you need admin privileges to install software for all users. This ensures that the software is installed in the main Applications folder, making it accessible to all user accounts.
2. Step-by-Step Installation Guide:
- Download the Software: Visit the software’s official website and download the installer.
- Open the Installer: Double-click the downloaded file to open the installer.
- Drag to Applications: Drag the application to the Applications folder. If prompted, enter the admin username and password.
- Complete the Installation: Follow any additional on-screen instructions to complete the installation.
Installing Software on Linux:
1. The Role of Root and Sudo Commands:
In Linux, installing software typically requires root privileges. This can be achieved using the root account or by using the sudo command, which allows a permitted user to execute a command as the superuser.
2. Step-by-Step Installation Guide:
- Open Terminal: Open the terminal window.
- Update Package List: Run sudo apt-get update to update the package list.
- Install the Software: Run sudo apt-get install [software-name], replacing [software-name] with the actual name of the software.
- Complete the Installation: Follow any additional prompts to complete the installation.
Automating Software Installation:
1. Using Scripts for Automated Installations:
Automation can save time, especially when installing software on multiple machines. On Windows, you can use batch scripts, while on Linux, shell scripts can automate the installation process.
2. Tools for Mass Deployment:
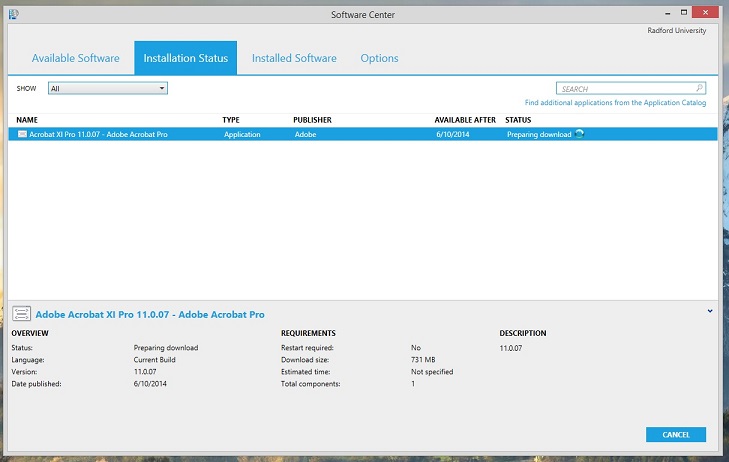
There are several tools available for mass deployment of software, such as Microsoft System Center Configuration Manager (SCCM) for Windows and Ansible for Linux. These tools allow you to automate and manage software installations across multiple systems.
Read Also: Philandro Software GmbH Mac – Comprehensive Guide – 2024!
Uninstalling Software for All Users:
Safe Removal of Applications:
1. To uninstall software for all users, use the operating system’s built-in uninstallation tools. On Windows, use the “Add or Remove Programs” feature. On macOS, drag the application from the Applications folder to the Trash. On Linux, use the sudo apt-get remove [software-name] command.
2. Cleaning Up Residual Files:
After uninstalling software, residual files may remain on your system. Use tools like CCleaner on Windows or BleachBit on Linux to clean up these leftover files and free up disk space.
Using Third-Party Software Management Tools:
1. Benefits of Third-Party Tools:
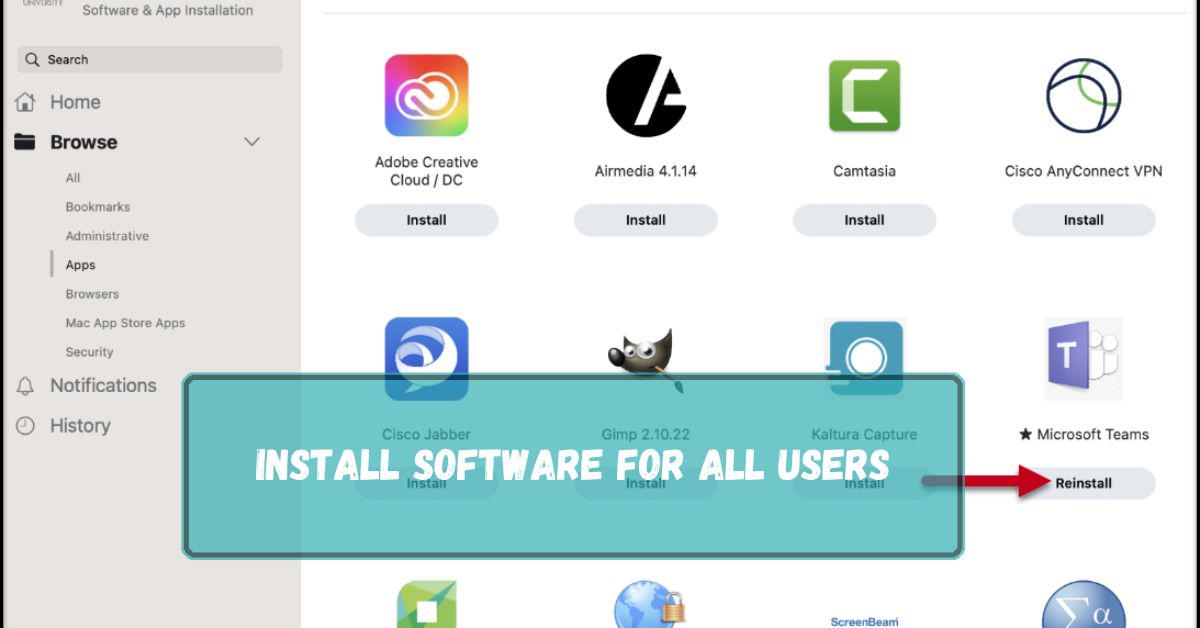
Third-party software management tools can simplify the installation, updating, and uninstallation processes. They often provide additional features like software inventory, license management, and automated updates.
2. Recommended Tools:
Some recommended tools include Ninite for Windows, Homebrew for macOS, and Synaptic Package Manager for Linux. These tools streamline software management and ensure you have the latest versions of your applications.
How To Make A Program Available To All Users?

To make a program available to all users, install it with administrative rights and select the option for all users. This ensures everyone on the computer can access the program.
How Do I install the program for all user accounts in Windows?
To install a program for all user accounts in Windows, run the installer as an administrator and choose the option to install for all users. This ensures every account can use the program.
Making A Third-Party Program Available To All Users In A Computer:
1. Installation in Program Files:
Install the program in the “Program Files” directory to make it accessible to all users on the computer.
2. Administrative Rights:
Run the installer with administrative rights to ensure the program is available to all user accounts.
3. Shared Shortcuts:
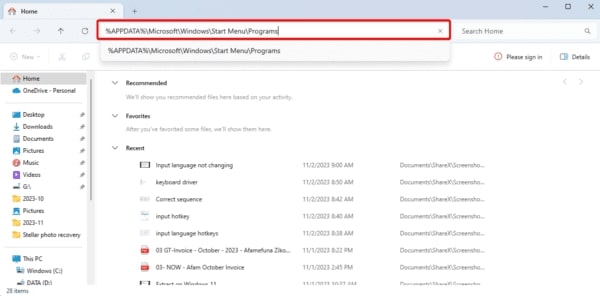
Create shortcuts in the “Public Desktop” or “All Users” Start Menu folder to provide easy access to all users.
4. Environment Variables:
Set up necessary environment variables at the system level so all users can run the program without issues.
5. Permissions:
Ensure the program folder has the correct permissions set, allowing all users to read and execute the files.
Install App For All Users Powershell:
To install an app for all users with PowerShell, use the Add-AppxPackage command with the -AllUsers parameter. This ensures the app is available to every user on the computer.
Make Program Available To All Users Windows 11:
To make a program available to all users in Windows 11, run the installer as an administrator and choose the option to install for all users. This makes the program accessible to everyone.
Share Apps Between Users Windows 11:
To share apps between users in Windows 11, install the app with administrative rights and select the option to make it available to all users. This allows everyone on the computer to access the app.
Do Programs Install For All Users?
Programs can install for all users if you run the installer as an administrator and choose the option to install for all users. This makes the program accessible to everyone on the computer.
What Is The Difference Between Install For Me And Install For All Users?
Install for me installs the program only for the current user. Install for all users installs the program for everyone on the computer, making it accessible to all user accounts.
How To Install .Exe For All Users?
To install a .exe file for all users, right-click the installer and select Run as administrator. During installation, choose the option to install for all users. This makes the program available to everyone.
Why Don’t Installed Programs Show Up For All Users?
Installed programs may not show up for all users if they were installed only for the current user. To make them available to everyone, choose the option to install for all users during installation.
Is There A Way To Share A Program With All Users On The Pc?
Yes, you can share a program with all users on the PC by installing it as an administrator and choosing the option to install for all users. This makes the program available to everyone.
How Do I Give All Users Access To Programs In Windows 10?

To give all users access to programs in Windows 10, install the programs as an administrator and choose the option to install for all users. This ensures everyone on the computer can use them.
Install Software For All Users Windows 10:
To install software for all users on Windows 10, run the installer as an administrator. Choose Install for all users during setup. This ensures every user on the computer can access the software.
Install Exe For All Users Command Line:
To install an EXE for all users via command line, run the EXE as an administrator with the command: setup.exe /allusers. This ensures the software is available for all users on the computer.
Read Also: Software RAID 10 Windows – Comprehensive Guide -2024!
How To Tell If A Program Is Installed For All Users?
To check if a program is installed for all users, look in C:\Program Files or C:\Program Files (x86) and see if the program is there. It should be accessible by all users on the computer.
FAQs:
1. How Can I Ensure Software Compatibility with All Users?
Check the system requirements and compatibility information provided by the software vendor. Test the software on a single device before deploying it to all users.
2. What Should I Do If Installation Fails?
Review error messages and logs to identify the problem. Ensure you have the necessary permissions and sufficient disk space. If the issue persists, contact the software vendor for support.
3. Is It Safe to Install Software from the Internet?
Only download software from reputable sources. Verify the authenticity of the software using digital signatures or checksums. Install and maintain antivirus and anti-malware tools to protect your system.
4. How Often Should I Update Installed Software?
Regularly check for updates and apply them as soon as they are available. Enable automatic updates if the software supports it to ensure you always have the latest features and security patches.
5. Can I Revert to a Previous Version of the Software?
Some software allows you to revert to a previous version. Check the software’s documentation or contact the vendor for instructions. Ensure you backup your data before making any changes.
Conclusion:
Installing software for all users is important for shared devices. Follow the steps for your operating system, ensure you have admin rights, and back up your data. Use scripts for automation and third-party tools for easier management. This guide helps you install, update, and uninstall software efficiently.
