
Installing the Ubuntu Software Center can be a game-changer if you’re new to Ubuntu or just looking to enhance your software management experience. It provides a user-friendly interface for managing and installing software on your system.
To install Ubuntu Software Center, open the terminal, type sudo apt-get install software-center, and press Enter. Wait for the installation to complete. You can now find it in your applications.
In this article, we will discuss “How To Install Ubuntu Software Center?”.
Table of Contents
What is Ubuntu Software Center?
1. Definition and Purpose:
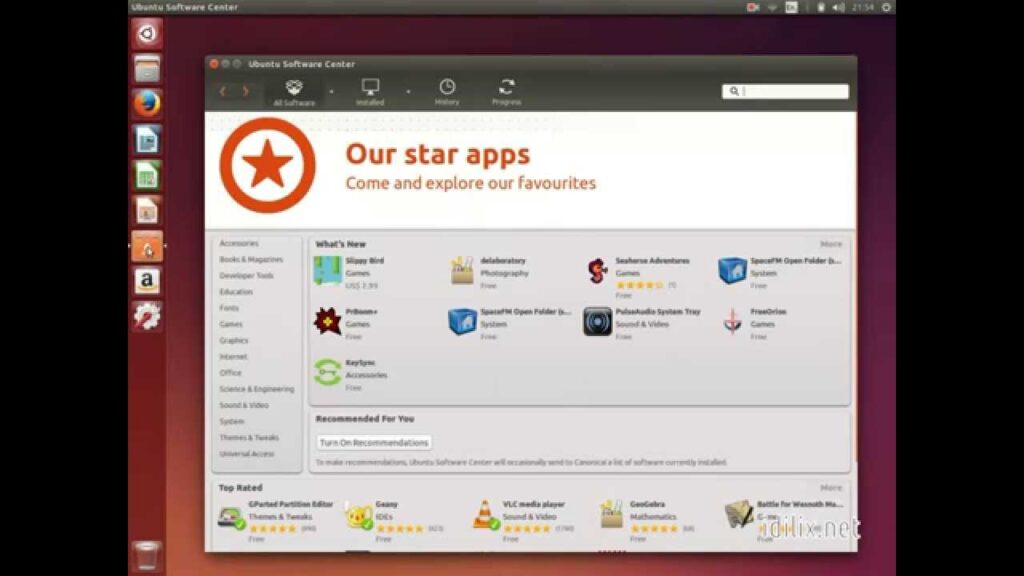
The Ubuntu Software Center is an application that allows users to easily search for, install, and manage software on Ubuntu-based systems. It provides a graphical interface for software management, making it more accessible than using command-line tools.
2. Features and Benefits:
- User-Friendly Interface: Simplifies the process of installing and managing applications.
- Wide Range of Software: Access to thousands of applications and utilities.
- Integration with System: Seamless updates and installation.
System Requirements:
1. Minimum Requirements:
- Ubuntu Version: Ensure you’re running a supported version of Ubuntu.
- Disk Space: At least 500 MB of free space for installation.
- Memory: 512 MB of RAM (1 GB recommended).
2. Recommended Specifications:
- Processor: 1 GHz or faster dual-core processor.
- Memory: 2 GB of RAM or more.
- Disk Space: 2 GB of free space or more for optimal performance.
Preparing Your System:
Before installing the Ubuntu Software Center, it’s crucial to prepare your system properly.
1. Update Your System:
- Open your terminal.
- Run the command sudo apt update to update your package list.
- Follow up with sudo apt upgrade to install any available updates.
2. Backup Your Data:
It’s always a good practice to back up your data before making significant changes to your system. Use tools like Deja Dup or Timeshift for system backups.
Installing Ubuntu Software Center:
1. Using Terminal Commands:
Step-by-Step Instructions:
- Open your terminal.
- Run the command sudo apt update to ensure you have the latest package list.
- Install the Ubuntu Software Center by typing sudo apt install software-center and press Enter.
- Wait for the installation to complete, and then you can start the Ubuntu Software Center from your application menu.
2. Alternative Methods
Using Graphical Interface
- Open your terminal and run sudo apt update.
- Search for the Ubuntu Software Center using the command apt search software-center.
- Install it by clicking on the appropriate package in your graphical package manager if available.
Verifying the Installation:
1. Checking for Updates:
- Open the Ubuntu Software Center.
- Go to the updates section and ensure all software is up to date.
2. Troubleshooting Common Issues:
- Problem: Software Center not opening.
- Solution: Reinstall using sudo apt install –reinstall software-center.
- Problem: Missing software.
- Solution: Ensure your repositories are up to date.
Configuring Ubuntu Software Center:
1. Setting Preferences:
- Open the Software Center.
- Navigate to settings to customize your experience, such as updating preferences and installation sources.
2. Adding Repositories:
- Go to the Software & Updates settings.
- Add or remove repositories as needed to access more software.
Using Ubuntu Software Center:
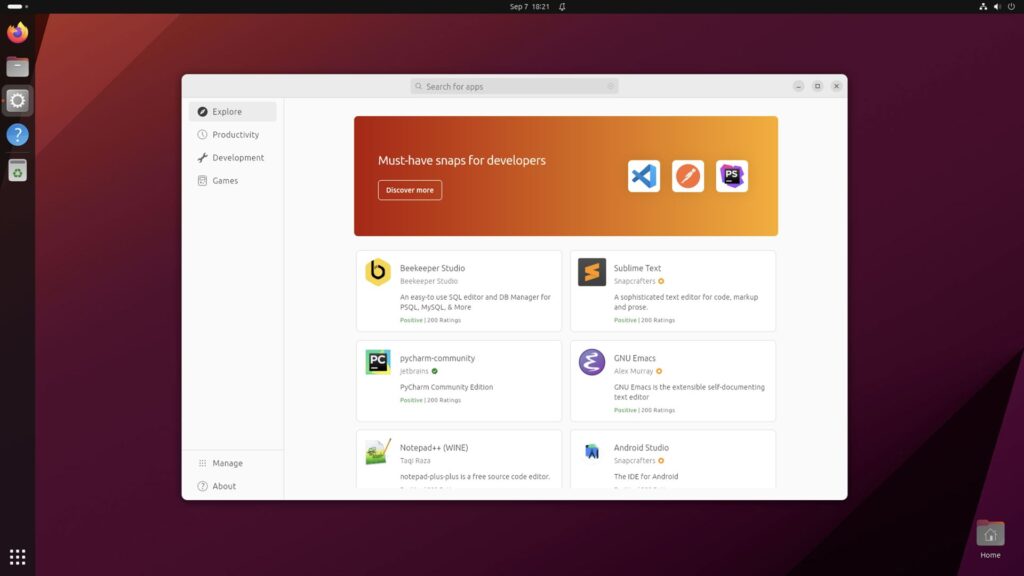
1. Navigating the Interface:
- Use the search bar to find applications.
- Browse categories to explore available software.
2. Installing Applications:
- Click on the application you want to install.
- Press the “Install” button and follow the prompts.
- Managing Installed Software
- Access the “Installed” tab to manage or remove applications.
Uninstalling Ubuntu Software Center:
1. When and Why to Uninstall:
If you encounter issues or prefer using alternative software management tools, you might consider uninstalling the Ubuntu Software Center.
2. Step-by-Step Uninstallation Process:
- Open your terminal.
- Run sudo apt remove software-center to uninstall.
- Confirm the uninstallation when prompted.
Tips and Tricks:
1. Shortcuts and Efficiency Tips:
- Use keyboard shortcuts to speed up navigation within the Software Center.
- Regularly check for updates to ensure smooth operation.
2. Enhancing Your Experience:
- Customize your Software Center settings to fit your needs.
- Explore advanced features and plugins for additional functionality.
Ubuntu Software Center Install Command Line:
To install the Ubuntu Software Center using the command line, open the terminal and type sudo apt-get install software-center, then press Enter. Wait for the installation to complete, and you can access it in your applications.
Ubuntu Software Center Download:
To download Ubuntu Software Center, open the terminal and type sudo apt-get install software-center. Press Enter and wait for the download and installation to finish. Once done, you can find and use it in your applications menu.
Ubuntu Software Center Missing:
If the Ubuntu Software Center is missing, you can reinstall it. Open the terminal and type sudo apt-get install software-center, then press Enter. Wait for the installation to complete. The Software Center should now appear in your applications.
Unable To Locate Package Ubuntu-Software:
If you see “Unable to locate package Ubuntu-Software” on Ubuntu, it means the system can’t find the software you want to install.
This might be because the package name is wrong or it’s not available in the repository. Check the package name and update your software list.
Install Ubuntu In Parallels:
- Open Parallels Desktop.
- Click “Create New.”
- Select “Install Windows or another OS from a DVD or image file.”
- Choose the Ubuntu ISO file.
- Follow the prompts to set up your virtual machine.
- Complete the installation by following the on-screen instructions.
Missing Ubuntu Software Center On Orin Nano:
If the Ubuntu Software Center is missing on your Orin Nano, it may not be installed. Open a terminal and run sudo apt update followed by sudo apt install gnome-software to install it. Restart your system to see if the Software Center appears.
Software Center Not Loading:
If the Software Center is not loading, try restarting your computer. If that doesn’t work, open a terminal and run sudo apt update and sudo apt upgrade. You may also need to reinstall the Software Center with sudo apt install –reinstall gnome-software.
Unable To Install Ubuntu Software Center Ubuntu-Software:
If you can’t install the Ubuntu Software Center, try updating your system and using the command sudo apt-get install gnome-software in the terminal. This may solve the issue and allow you to install it properly.
How To Install And Use The Ubuntu Software Center?
To install the Ubuntu Software Center, use the command sudo apt-get install gnome-software in the terminal. To use it, open the app, search for software, and click “Install” for the desired application.
How Do I Get To The Ubuntu Software Center?
To open the Ubuntu Software Center, click the “Show Applications” icon on your desktop, then find and click on “Ubuntu Software” in the app list. This will open the Software Center.
How To Reinstall Software Centre In Ubuntu?
To reinstall the Ubuntu Software Center, open the terminal and type sudo apt-get remove –purge gnome-software, then sudo apt-get install gnome-software. This will remove and reinstall the Software Center.
How To Install Ubuntu Software In Linux?
To install software on Ubuntu, open the Ubuntu Software Center, search for the software you need, and click Install. Alternatively, use the terminal and type sudo apt-get install [software-name].
How Do I Fix Software Center In Ubuntu?
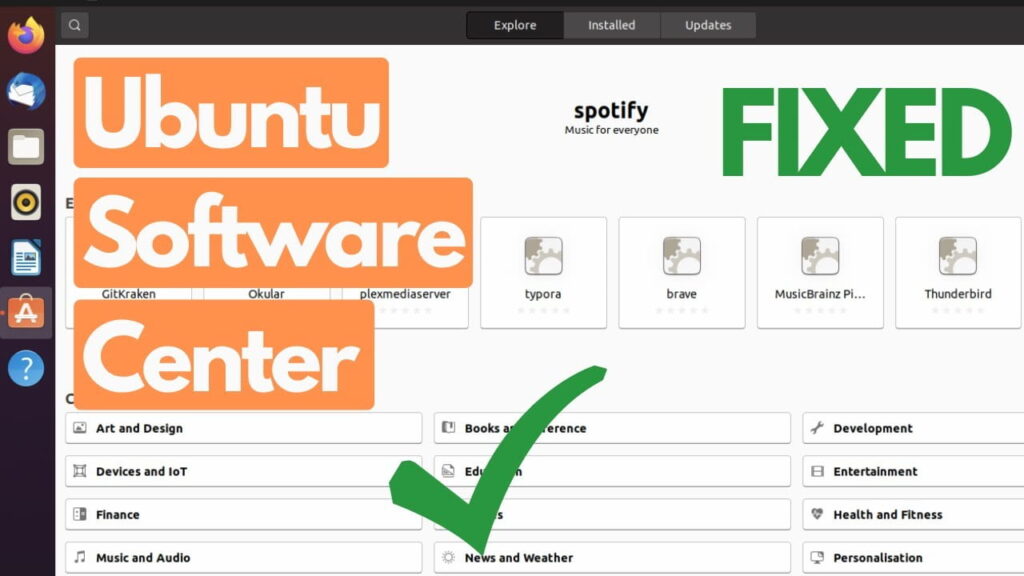
- Open the terminal.
- Type sudo apt-get upgrade and press Enter.
- If the problem continues, type sudo apt-get remove –purge gnome-software and press Enter.
- Type sudo apt-get install gnome-software and press Enter.
How To Install Ubuntu Software Center In Mint 19.2?
To install the Ubuntu Software Center in Mint 19.2, open the terminal and type sudo apt-get update, then sudo apt-get install gnome-software. This will download and install the Software Center on your system.
Is There A Way To Install New App Center From Ubuntu 24.04 But In Ubuntu 22.04 Lts?
Yes, you can try to install the new App Center from Ubuntu 24.04 in Ubuntu 22.04 LTS by adding the 24.04 repository, but it may cause system issues. It’s safer to wait for an official backport.
FAQs:
1. What is the Ubuntu Software Center?
The Ubuntu Software Center is a graphical tool for managing and installing software on Ubuntu-based systems. It offers a user-friendly way to access and manage applications.
2. Can I use alternative software centers?
Yes, there are alternative software management tools like Synaptic Package Manager and GNOME Software, which offer different features and interfaces.
3. How do I update Ubuntu Software Center?
To update the Software Center, make sure your system is up to date by running sudo apt update and sudo apt upgrade.
4. What should I do if the Software Center is not working?
Try reinstalling the Software Center using sudo apt install –reinstall software-center. If issues persist, check for system updates or consult the Ubuntu forums for help.
5. Is Ubuntu Software Center suitable for beginners?
Yes, it is designed to be user-friendly and is ideal for beginners looking to manage their software easily.
Conclusion:
Installing the Ubuntu Software Center is easy and improves your software management on Ubuntu. Just use the terminal to install it and follow the steps to update and customize. It offers a user-friendly way to find, install, and manage applications, making it perfect for beginners and experienced users alike.